How to Photograph Large Properties Effectively
7 November 2025
When it comes to real estate photography, capturing large properties presents a unique challenge. Whether it's a sprawling estate, a luxurious mansion, or a vast farmland, photographing these properties requires more than just a camera and a steady hand. You need careful planning, the right equipment, and an eye for detail to ensure the property stands out in the competitive real estate market.
If you’ve ever struggled with capturing the true essence of a large home or estate, don’t worry—you’re not alone. In this guide, we’ll walk you through the best techniques to photograph large properties effectively.
Why Good Photography Matters in Real Estate
Let’s face it—first impressions matter, especially in real estate. The majority of homebuyers start their search online, and if your listing photos don’t grab their attention immediately, chances are they’ll move on to the next one.A well-shot photograph can evoke emotion, helping potential buyers visualize themselves in the home before they even step foot inside. And when you’re dealing with a large property, showcasing its full potential through photography becomes even more critical.
Now, let’s get into the nitty-gritty of how to capture a large property in all its glory.
1. Plan Your Shots Beforehand
One of the biggest mistakes photographers (both amateur and professional) make is showing up without a plan. Large properties have a lot to offer, and without a solid game plan, you might miss out on capturing key features.How to Create a Photography Plan:
- Walk the Property First – Take a quick tour to identify key selling points like architectural details, outdoor spaces, and unique features.- Make a Shot List – Write down the must-have shots, including wide exterior views, interior spaces, and special amenities like a pool or a garden.
- Consider the Best Time of Day – Lighting plays a huge role in photography. Early mornings and late afternoons provide soft, natural light that enhances a property's appeal.
By planning ahead, you maximize your chances of capturing stunning images that highlight the property’s best features.
2. Use the Right Equipment
Now, let’s talk gear. While you can take decent property photos with a smartphone, a professional setup will take your images to the next level.Essential Gear for Photographing Large Properties:
- Wide-Angle Lens – This will help you capture more of a room or landscape in a single frame, making spaces appear larger and more inviting.- Tripod – Keeps your shots steady and allows for long exposure photography, which is useful in low-light conditions.
- Drone – A game-changer when it comes to showcasing large properties. Aerial shots give potential buyers a full scope of the land and its surroundings.
- External Flash or Lighting Equipment – Essential for interior shots where natural light might not be sufficient.
Using the right tools ensures your shots are crisp, well-lit, and visually appealing.
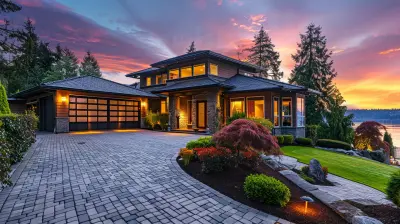
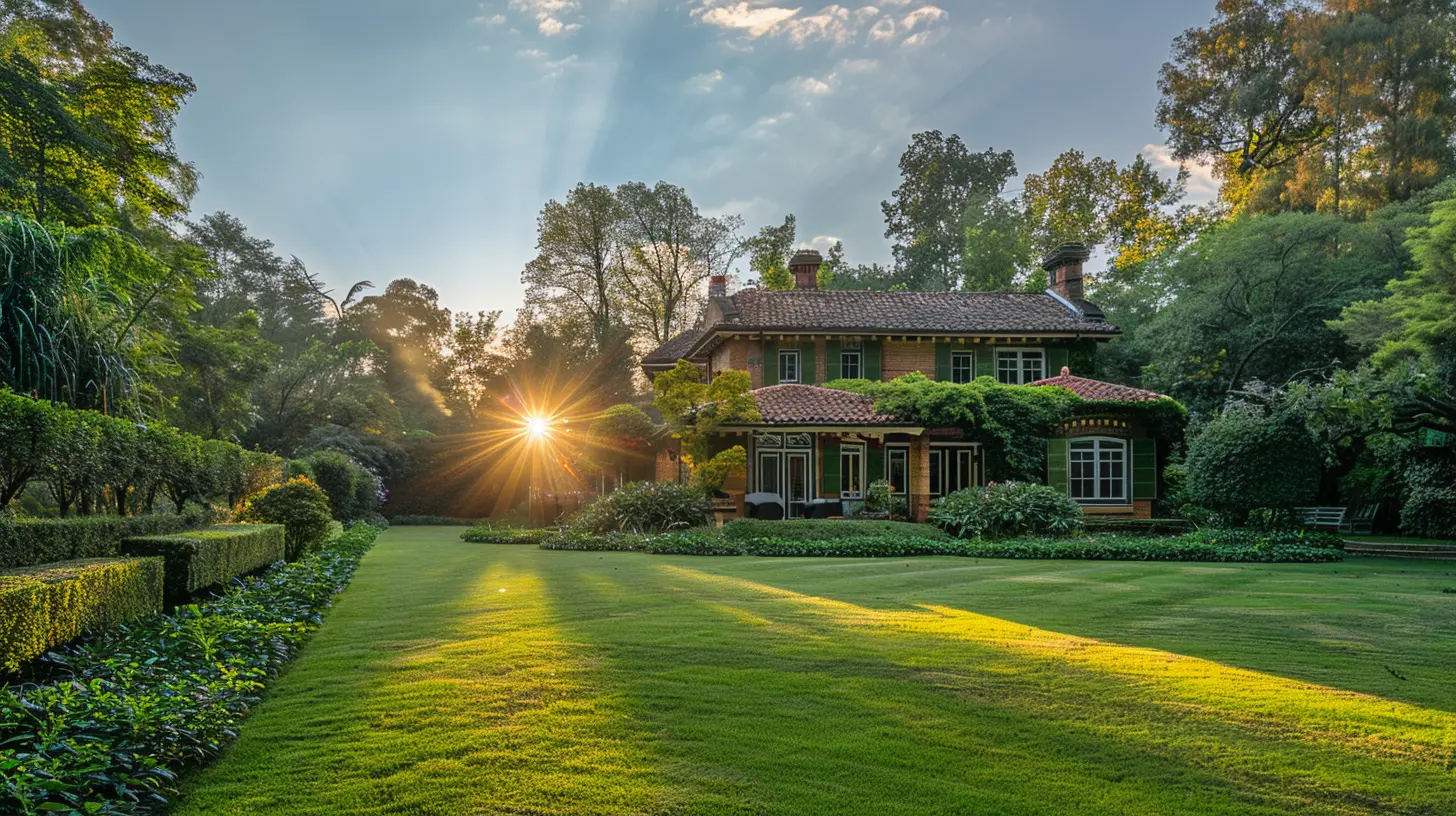
3. Master Exterior Shots
The exterior of a large property sets the tone for buyers, so this is where you want to make a strong first impression.Tips for Capturing Stunning Exterior Shots:
- Shoot from Different Angles – Show the home’s depth by experimenting with various angles. A straight-on shot can look flat, whereas a diagonal angle adds dimension.- Highlight Curb Appeal – Make sure the lawn is mowed, the driveway is clean, and any outdoor furniture is neatly arranged.
- Use the Golden Hour – The soft, warm light right after sunrise or before sunset can make any property look magical.
Want to take it up a notch? A drone shot from above can showcase the property's full expanse, giving buyers a clear idea of its layout.
4. Photographing Interior Spaces
Large homes often have multiple living areas, high ceilings, and spacious rooms—features that must be captured well to entice buyers.Best Practices for Interior Photography:
- Declutter Before Shooting – A clutter-free home looks more inviting and allows buyers to focus on the space itself rather than the objects in it.- Use Natural Light – Open curtains and blinds to let in as much natural light as possible. Shadows and uneven lighting can make spaces seem smaller than they are.
- Shoot at Chest Height – Too high or too low can distort a room’s proportions. Chest height gives the most realistic and balanced perspective.
- Highlight Unique Features – If the home has vaulted ceilings, an elegant fireplace, or custom cabinetry, make sure to capture these details.
These small yet powerful adjustments can make a significant difference in how the indoor spaces are perceived.
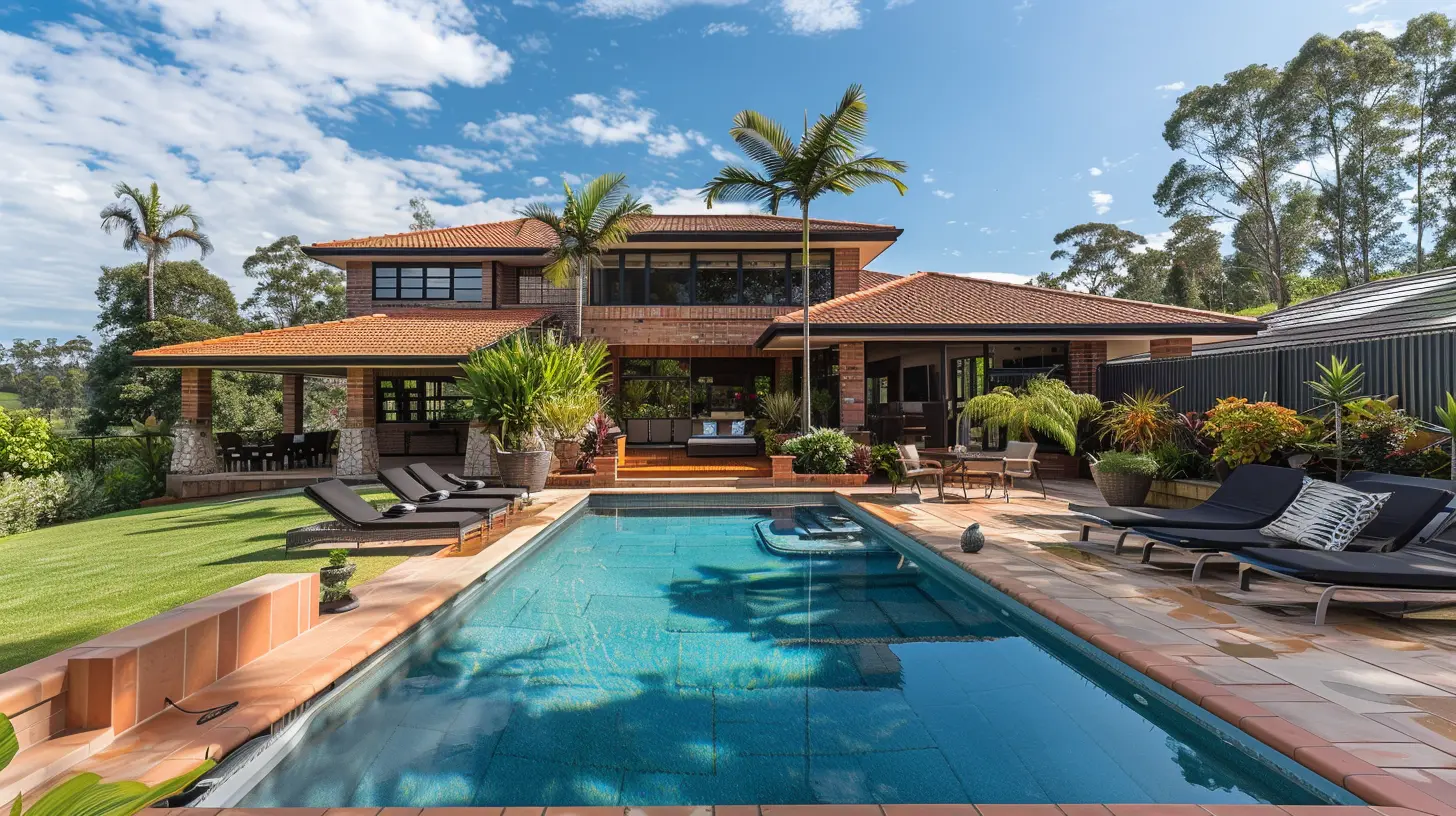
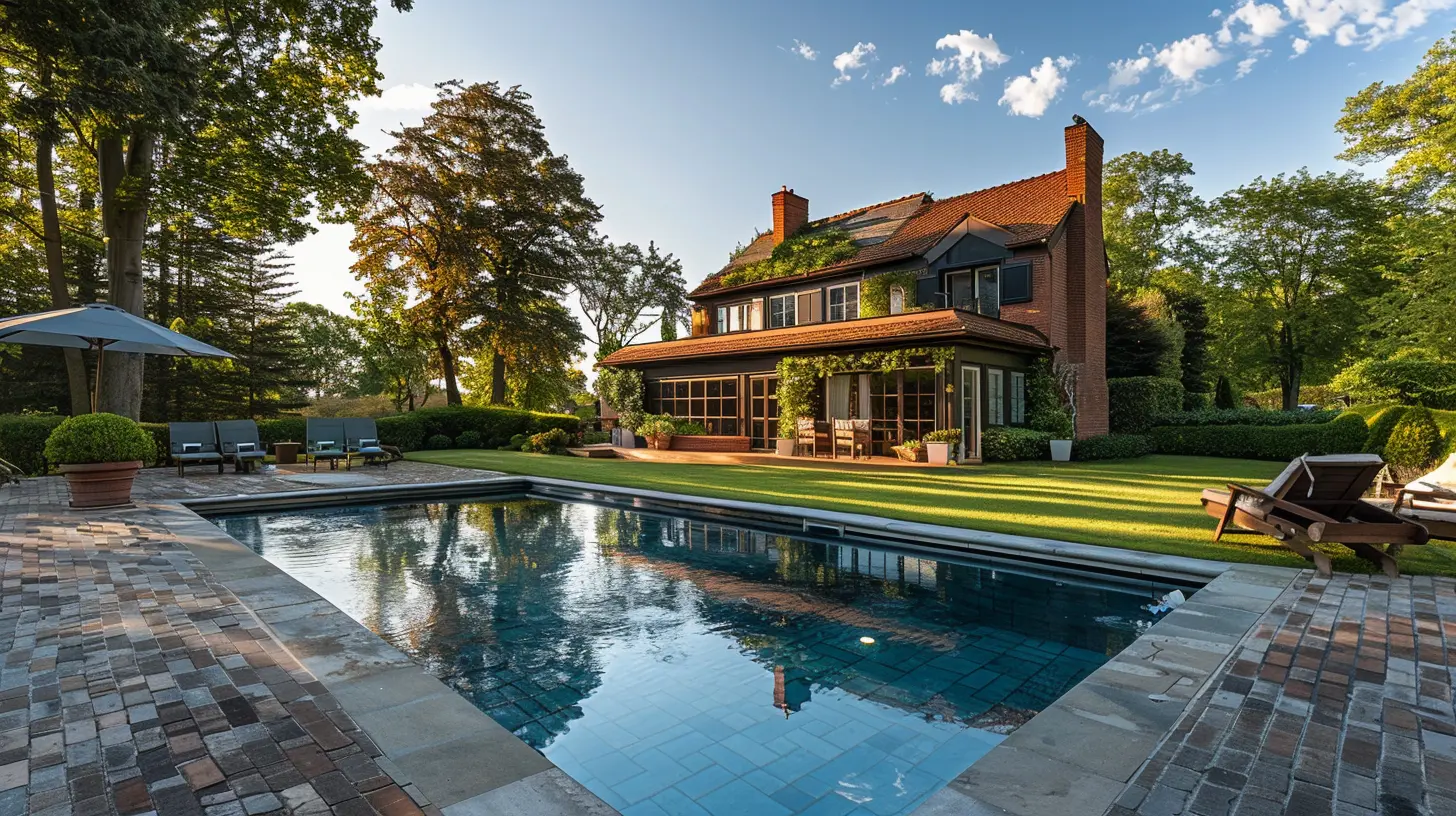
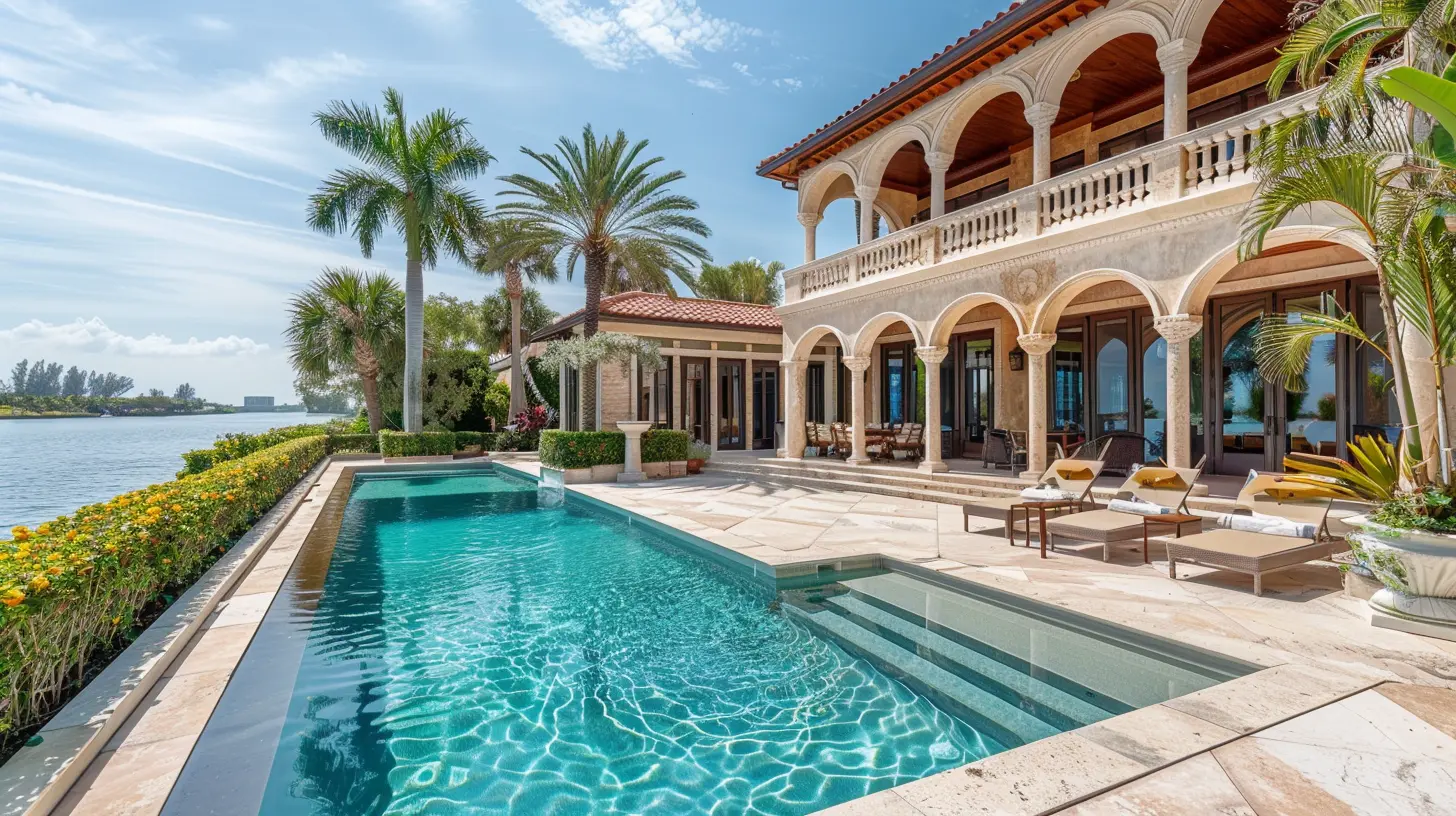
5. Capture the Property’s Best Features
Every large property has its standout features, and it’s your job to highlight them in your photos.Unique Features Worth Showcasing:
- Amenities – Swimming pools, tennis courts, home theaters, and wine cellars should all get their own dedicated shots.- Outdoor Spaces – Capture lush gardens, patios, and any scenic views the property offers.
- Architectural Elements – If the home has intricate molding, exposed wooden beams, or arched doorways, make sure to showcase them.
By focusing on what makes the property special, you create a visual story that draws buyers in.
6. Editing and Post-Processing
Even the best-shot photos often need a little touch-up. Post-processing can enhance colors, adjust brightness, and even correct minor distortions.Basic Editing Tips:
- Correct White Balance – Ensure colors look natural and are not too warm or too cool.- Adjust Exposure – Brighten up any dark areas to create a balanced shot.
- Straighten Lines – Walls and horizons should always be straight to avoid an unprofessional look.
- Remove Distractions – If there are minor distractions like power lines or small clutter, remove them in post-processing.
Editing should enhance—not drastically alter—the images. The goal is to present the home in the best light while keeping it realistic.
7. Show the Property in Context
A large property doesn’t exist in isolation. Buyers want to know what’s around it—whether it’s a stunning mountain view, a nearby lake, or a vibrant neighborhood.How to Provide Context in Your Photos:
- Capture Surrounding Landscapes – If the home has beautiful views, make sure to feature them.- Include Nearby Amenities – A shot of a nearby park, marina, or golf course can add value to the listing.
- Show the Home’s Position on the Land – Aerial shots work great for this, giving buyers a sense of scale.
Context helps potential buyers understand where the property sits and what kind of lifestyle it offers.
Conclusion
Photographing large properties effectively requires a mix of technical skill, creativity, and careful planning. From choosing the right equipment to capturing both grand exterior shots and intimate interior details, each step plays a crucial role in making the property shine.At the end of the day, great photos can be the deciding factor in attracting the perfect buyer. So take your time, follow these tips, and make every shot count!
all images in this post were generated using AI tools
Category:
Real Estate PhotographyAuthor:

Melanie Kirkland
Discussion
rate this article
1 comments
Angie Cruz
Capturing the essence of large properties is an art that unlocks their true potential. Embrace the power of perspective and light, and let your lens tell a captivating story. With the right techniques, you’ll transform spaces into dreams, inviting buyers to envision their future. Dare to inspire!
November 9, 2025 at 3:50 AM
Melanie Kirkland
Thank you for the insightful comment! Embracing perspective and light truly elevates property photography, making it essential for capturing the dream within each space.