How to Create an Open-Concept Floor Plan: Demolition Tips and More
7 August 2026
Do you dream of a spacious, airy home where family and friends can gather with ease? An open-concept floor plan might be the perfect solution! This popular design style removes unnecessary walls, creating a seamless flow between living spaces. While it may sound simple, achieving this transformation requires careful planning and execution—especially when it comes to demolition.
If you've ever wondered how to break down those barriers (literally and figuratively) to craft the open-concept home of your dreams, you’re in the right place. Let’s dive into the essential demolition tips and expert insights to guide you through the process. 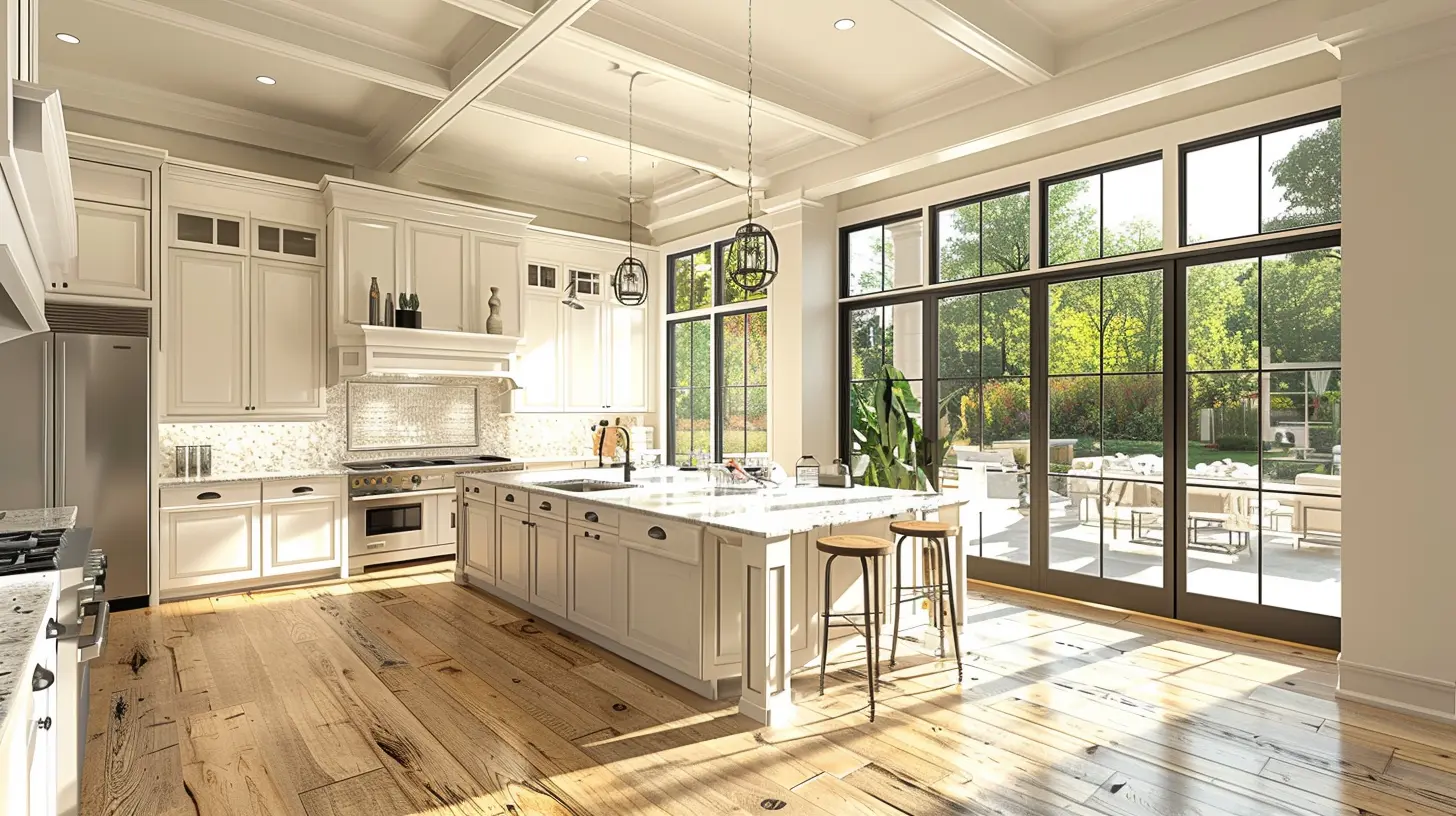
Why Choose an Open-Concept Floor Plan?
Before we start grabbing hammers, let’s take a moment to appreciate why open-concept living has taken the design world by storm.1. More Natural Light
Walls block light—but when you remove them, sunshine floods into every corner of your home. Say goodbye to dark, cramped spaces and hello to bright, welcoming interiors!2. Seamless Socializing
Whether you're entertaining guests or keeping an eye on the kids while cooking dinner, an open floor plan encourages connection and togetherness.3. A Bigger Feel (Without Adding Square Footage!)
Tearing down unnecessary walls makes a home feel significantly larger, even if the square footage stays the same—a clever trick to maximize space.4. Improved Functionality
An open layout allows for greater flexibility in furniture arrangement, making your home more adaptable to evolving needs.Now that we’re sold on the benefits, let’s talk about how to make it happen! 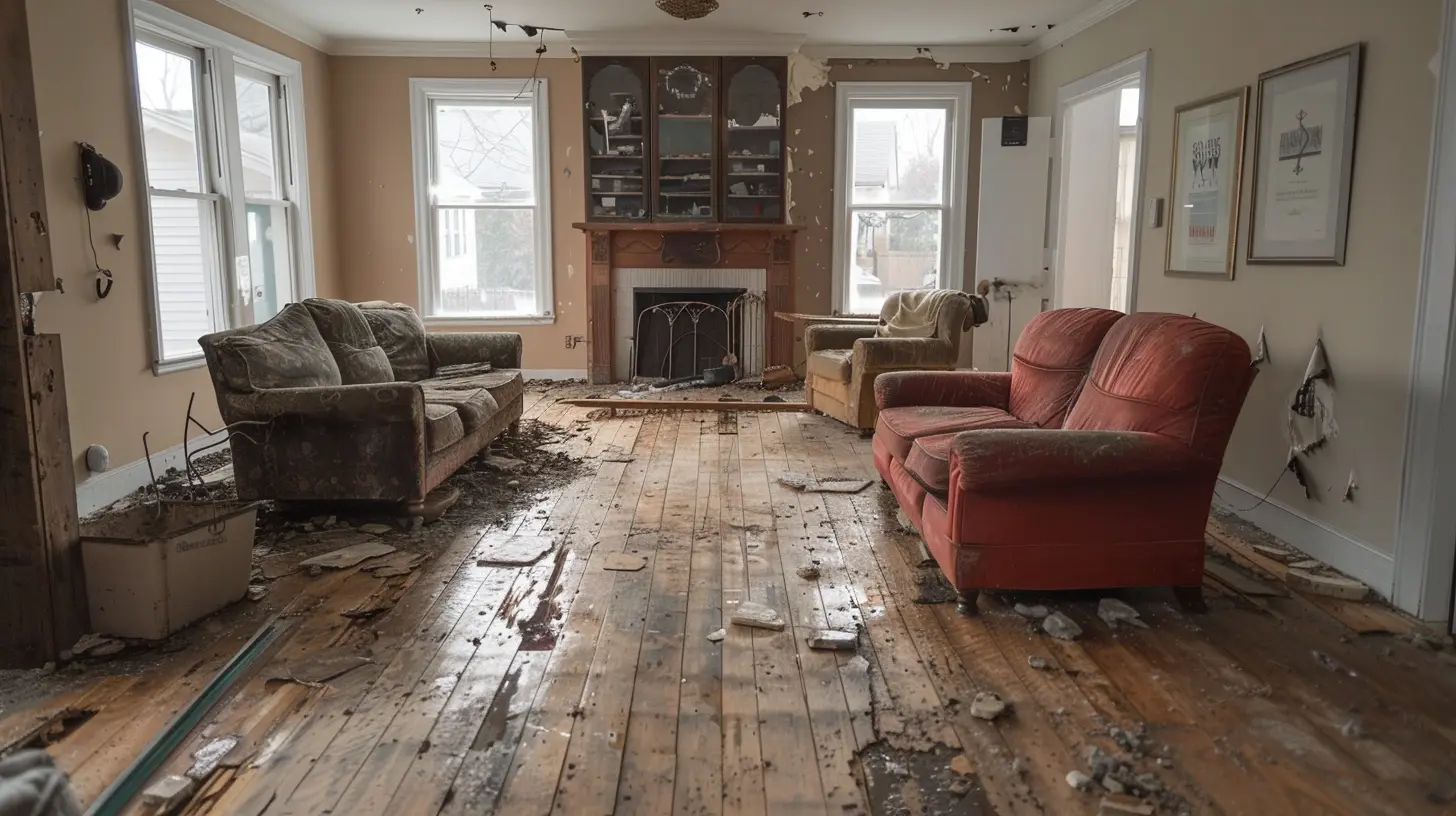
Planning for Demolition: What You Need to Know
Taking down walls isn’t as easy as swinging a sledgehammer—at least, not if you want to avoid costly mistakes. The key to a successful demolition is careful planning.1. Identify Load-Bearing Walls
Not all walls are created equal. Some are purely aesthetic, while others—called load-bearing walls—are essential for structural support. Removing a load-bearing wall without proper reinforcement can lead to ceilings sagging and entire floors collapsing. Yikes!? Pro Tip: If you’re unsure whether a wall is load-bearing, consult a structural engineer or contractor before making any cuts.
2. Check for Electrical, Plumbing, and HVAC Systems
Walls often house vital systems like electrical wiring, plumbing, and air ducts. Accidentally cutting into any of these can cause expensive repairs and major headaches.Before demolition, inspect your walls or hire a professional to identify any hidden surprises. If relocation is necessary, factor those costs into your renovation budget.
3. Get the Proper Permits
Demolition isn’t just about knocking things down—it often requires approval. Depending on your city or state, you may need a permit to ensure that your renovation meets local building codes.Skipping the permit process can lead to fines or even having to undo your hard work. Play it safe and check local regulations before you begin.
4. Create a Dust and Debris Management Plan
Demolition is messy. Drywall dust, wood splinters, and debris can quickly take over your home. Protect your belongings by sealing off other rooms with plastic sheets and using drop cloths on floors.Also, consider renting a dumpster or setting up a debris disposal plan so you’re not drowning in rubble by the time you're done. 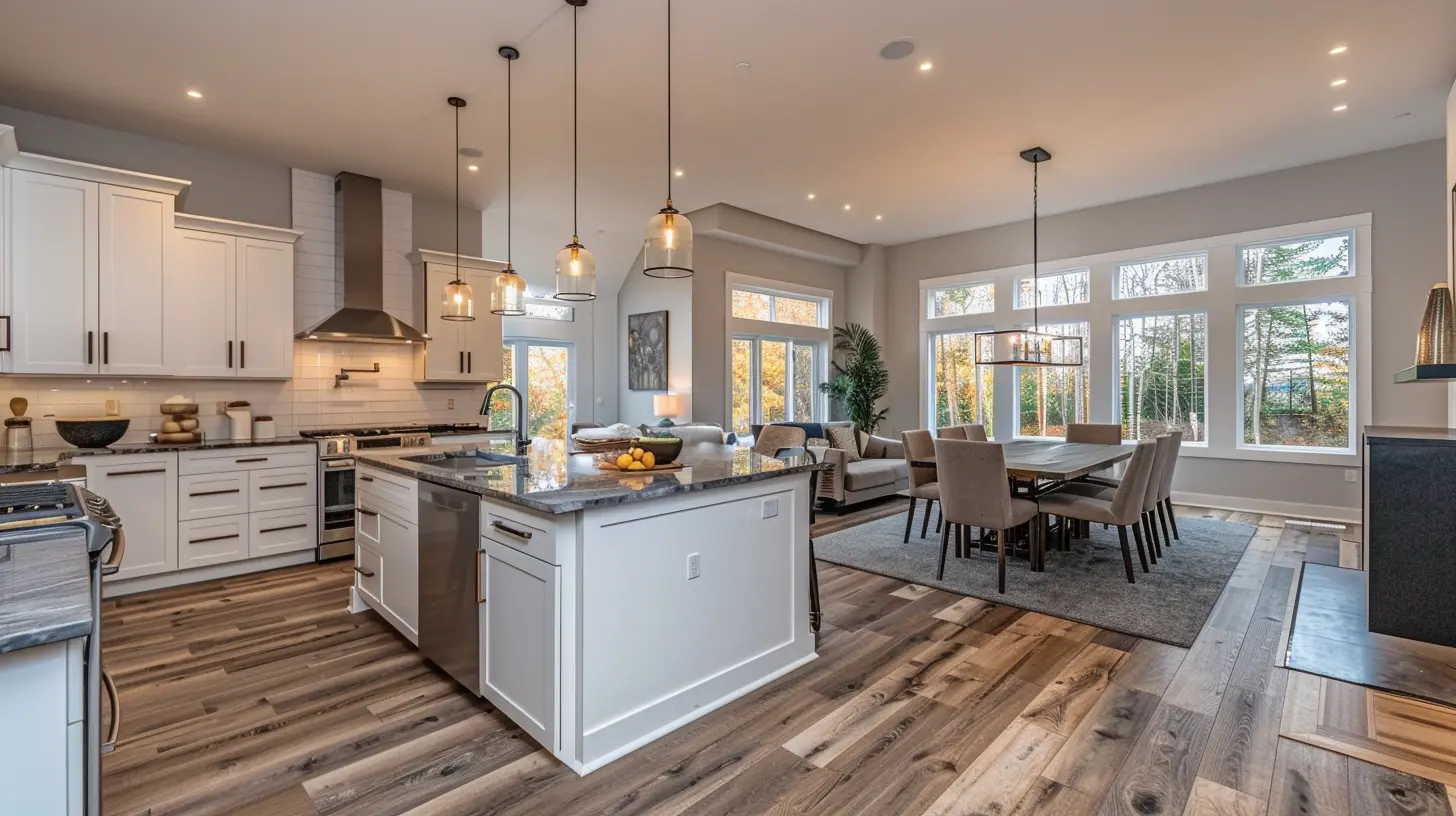
Safely Demolishing a Wall
Now comes the fun part—demolition! Let’s walk through the process step-by-step to ensure a smooth and safe experience.1. Prepare Your Space
Before you even pick up a hammer, clear the area. Remove furniture, cover floors, and make sure you’re wearing protective gear like gloves, goggles, and a dust mask.2. Turn Off Utilities
If your wall contains electrical wiring or plumbing, shut off the power and water supply before opening it up. This step prevents accidents like electrical shocks or water damage.3. Start with a Test Hole
Instead of blindly knocking down the entire wall, start by cutting a small inspection hole. This allows you to peek inside and confirm whether there are pipes, wires, or ducts before proceeding.4. Remove Drywall First
Using a pry bar or reciprocating saw, carefully break away the drywall from both sides of the wall. Be cautious—hidden screws or nails can be sharp!5. Take Down Studs and Framing
Once the drywall is gone, you’ll see the wooden studs that support the wall. Cut these down one by one, ensuring the structure remains stable as you work your way through.6. Clean Up the Debris
After the wall is down, sweep up dust, remove any leftover nails, and dispose of debris responsibly. If a dumpster isn’t an option, contact your local waste management service for pick-up options.? Bonus Tip: If your wall contains asbestos (common in older homes), hire a professional for removal to avoid health risks. 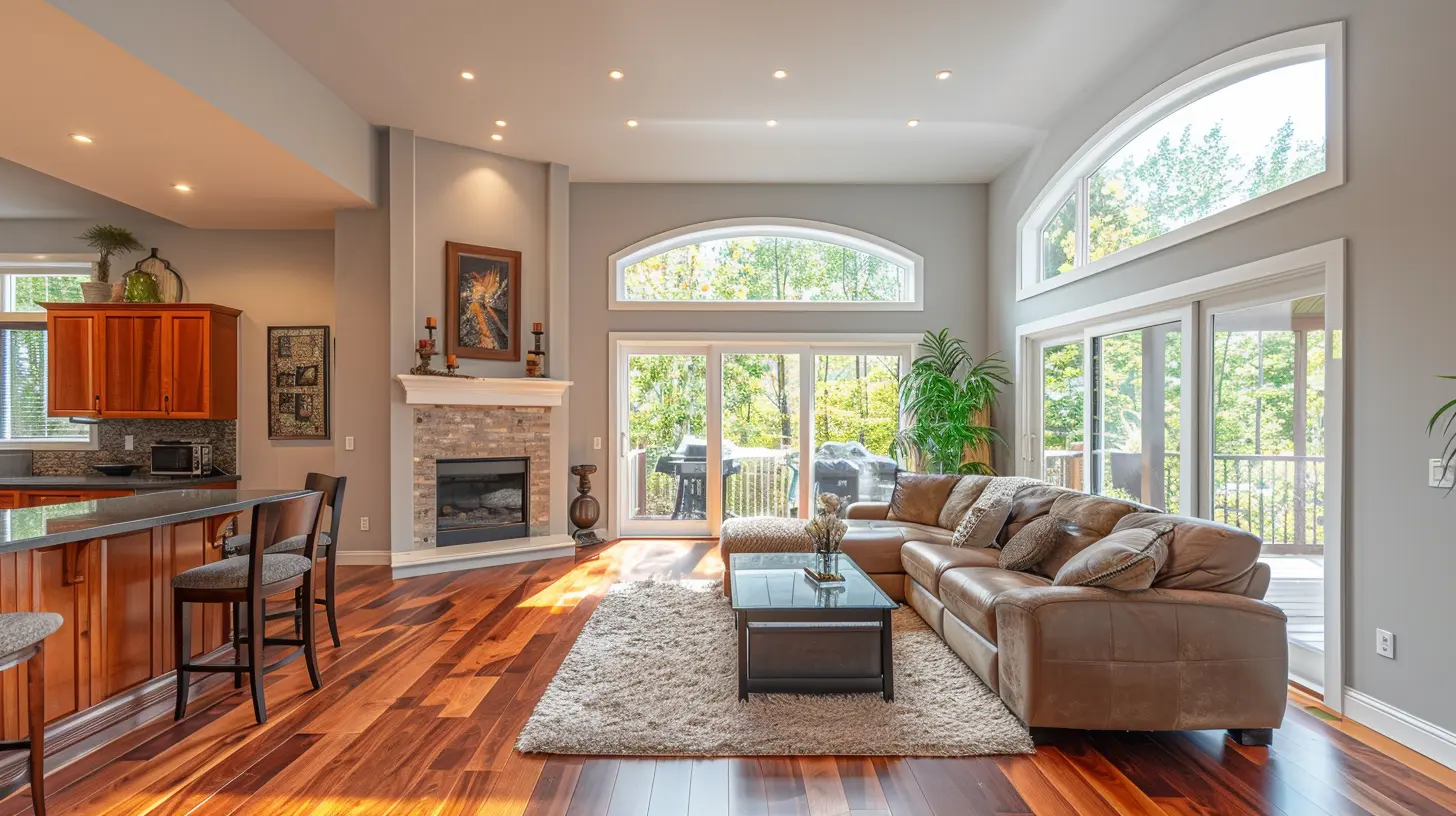
Structural Reinforcement: What to Do After Demolition
If you’ve removed a load-bearing wall, you’ll need a structural replacement to maintain your home’s stability.1. Install a Beam or Support Column
A common solution for replacing a load-bearing wall is installing a steel or wooden beam across the opening. If additional support is needed, vertical columns or posts can be added for reinforcement.2. Work with a Structural Engineer
Even if you’re confident in DIY projects, structural modifications require expert oversight. A structural engineer can provide guidance on the appropriate beam size and installation process to prevent long-term issues.3. Patch Up Flooring and Ceilings
After demolition, you’ll likely have gaps in your flooring and ceiling where the wall used to be. Depending on your existing materials, you may need to replace sections of flooring or repaint ceilings for a seamless look.Designing Your Open-Concept Space
With the wall gone, your space will instantly feel bigger—but how do you make it truly shine? Here are some design tips to create a stunning open-concept layout:1. Define Spaces with Furniture
An open floor plan doesn’t mean every area has to blend together. Use furniture placement to subtly distinguish different zones—like a sectional sofa for the living area and a dining table for the eating space.2. Use Rugs for Visual Separation
Rugs anchor different sections of a large space, adding warmth and defining zones without needing physical barriers.3. Incorporate Strategic Lighting
Pendant lights over a kitchen island, recessed lighting in the living room, and a statement chandelier over the dining table can all help create subtle divisions within an open-concept space.4. Choose a Cohesive Color Palette
Opt for a uniform color scheme to maintain visual harmony. Neutral tones with pops of accent colors help unify the space while adding personality.5. Add Functional Storage Solutions
With fewer walls, storage can become a challenge. Consider built-in shelves, multipurpose furniture, and stylish cabinets to keep your space organized and clutter-free.Final Thoughts
Converting a traditional layout into an open-concept floor plan is one of the most transformative renovations you can do. While demolition might sound intimidating, proper planning and careful execution make all the difference.By identifying load-bearing walls, managing utilities, reinforcing the structure, and designing a thoughtful layout, you’ll create a breathtaking space that’s not only beautiful but also functional and inviting.
So grab that sledgehammer (responsibly, of course) and start reimagining your home—one wall at a time!
all images in this post were generated using AI tools
Category:
Home Improvement TipsAuthor:

Melanie Kirkland
Discussion
rate this article
1 comments
Melina Warner
Transforming a space can ignite creativity and connection. Embrace the change and watch your vision come to life!
August 10, 2026 at 11:07 AM