How to Safely Remove and Replace Old Insulation for Increased Energy Efficiency
23 July 2026
Insulation plays a crucial role in maintaining your home's energy efficiency. But over time, insulation can degrade, become contaminated, or simply lose effectiveness. If your energy bills are creeping up or your home is struggling to maintain a consistent temperature, it might be time to replace that old insulation.
But before you start tearing it out, there are some important safety steps to consider. Removing old insulation isn’t as simple as tossing out an old carpet—it can contain harmful contaminants, dust, and even hazardous materials like asbestos. The good news? With the right approach, you can safely remove and replace insulation, making your home more comfortable and energy-efficient.
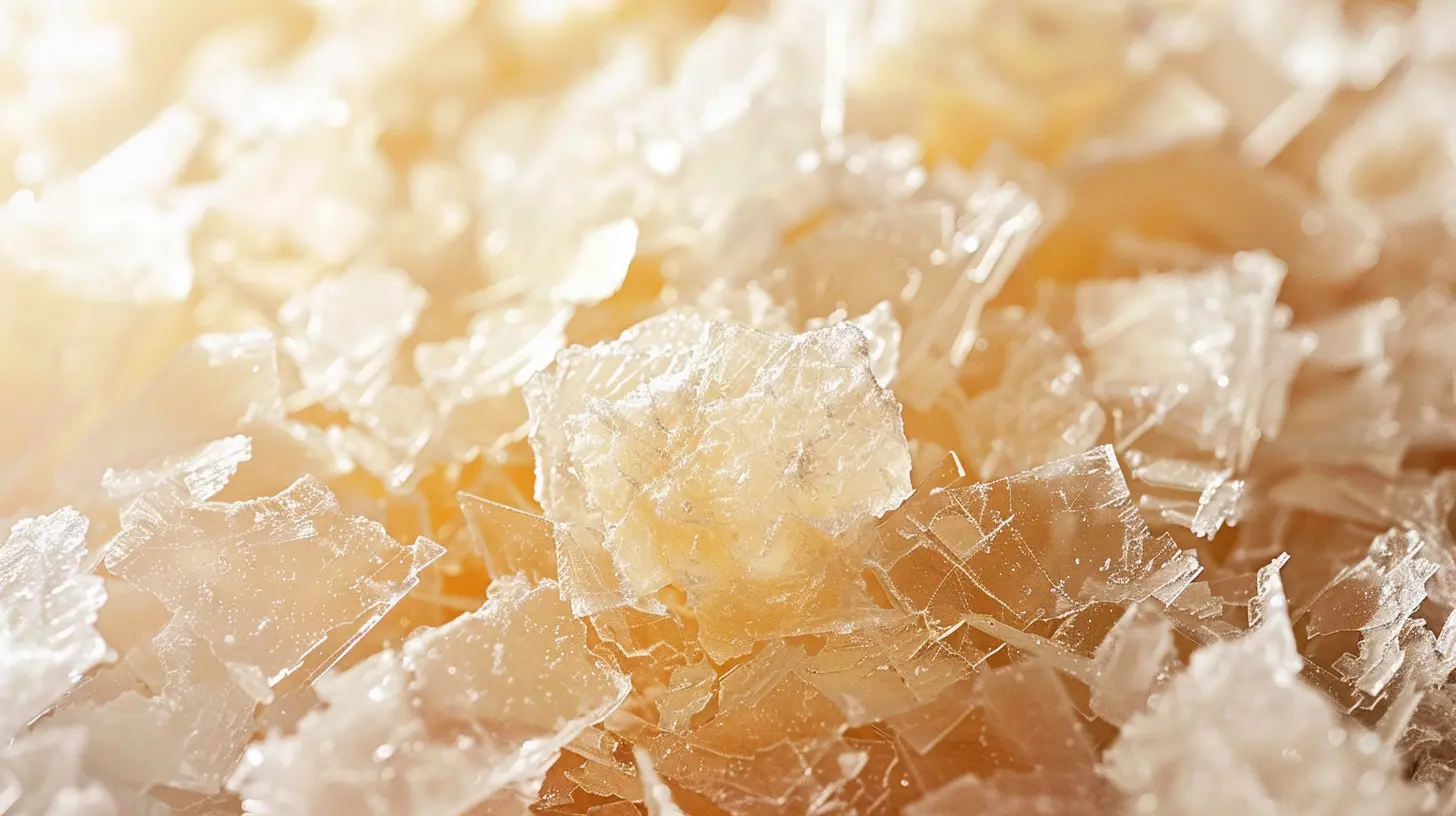
Why Should You Replace Old Insulation?
Before jumping into the process, you might be wondering—why even bother replacing insulation? Well, here are a few solid reasons:- Decreased Effectiveness – Over time, insulation can settle, compress, or even develop gaps, reducing its ability to retain heat or block out the cold.
- Moisture Damage – Leaks, humidity, and condensation can lead to moldy or damp insulation, which no longer serves its purpose and could introduce health risks.
- Pest Infestation – Rodents and insects love nesting in insulation. If you’ve ever found droppings, chewed-up material, or even dead pests in your attic or walls, it’s time for a replacement.
- Harmful Materials – Older homes may still have insulation that contains asbestos or fiberglass that can become airborne and pose serious health risks when disturbed.
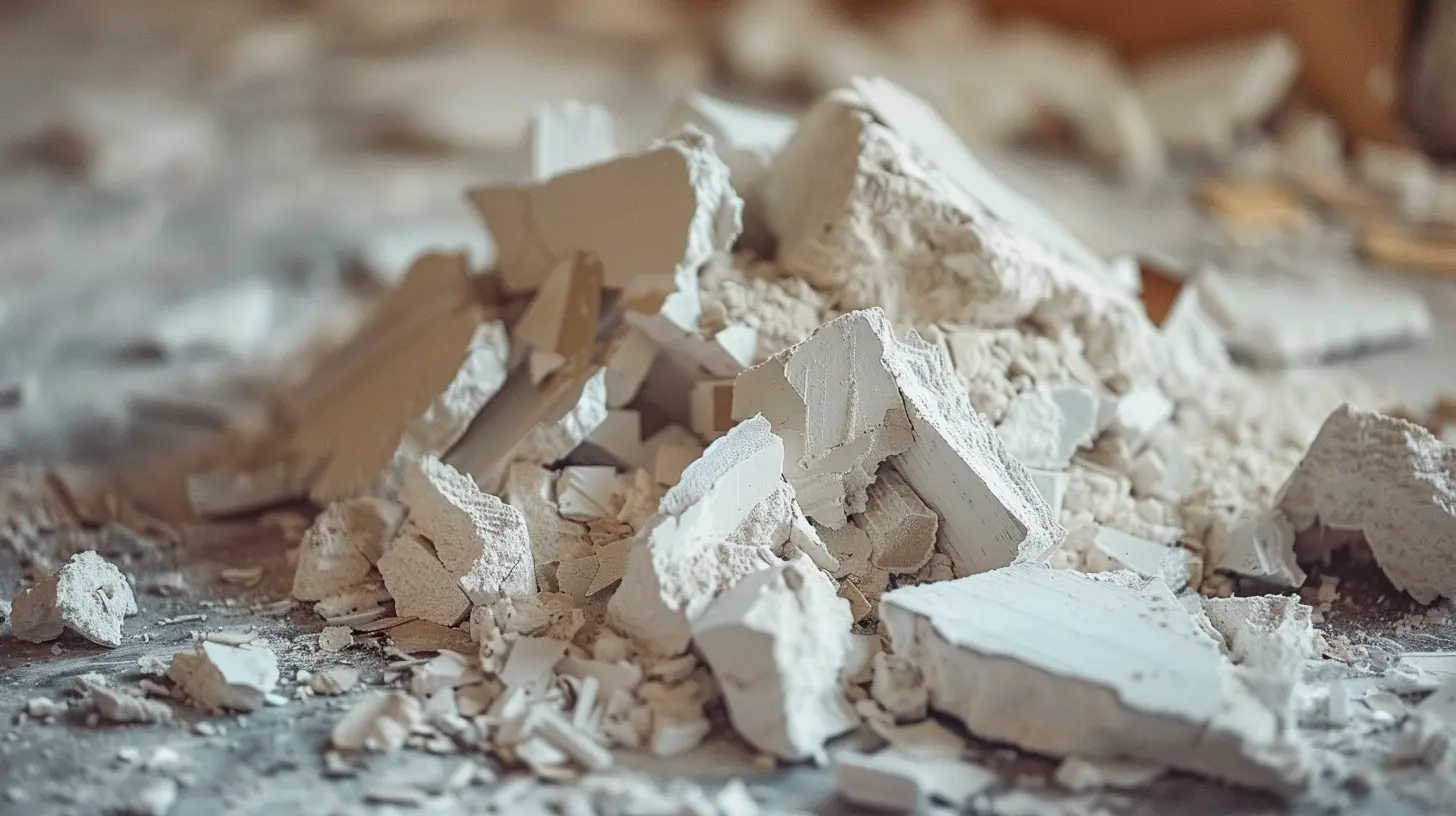
Step-by-Step Guide to Removing Old Insulation Safely
Step 1: Identify The Type of Insulation
Before you remove anything, you need to know what you're dealing with. Insulation comes in different types, such as:- Fiberglass Batts – Recognizable by its pink or yellow color, it’s one of the most common types.
- Blown-In Cellulose – Looks like shredded paper and is often found in older homes.
- Spray Foam – A hardened, foam-like substance applied in walls and ceilings.
- Asbestos Insulation – Found in homes built before the 1980s, usually wrapped around pipes. If you suspect asbestos, stop immediately and call a professional.
Step 2: Gather Necessary Safety Gear
Removing insulation isn’t a job you want to tackle without protection. Here’s what you’ll need:- Protective gloves – To avoid irritation from fiberglass or other harmful substances.
- Safety goggles – Prevent airborne particles from getting into your eyes.
- Respirator mask – Essential for keeping your lungs safe from dust and contaminants.
- Coveralls or old clothing – Wear something that covers your skin completely to avoid direct contact with insulation.
Step 3: Prepare the Workspace
You don’t want dust and debris floating around your home. Here’s how to set up properly:- Seal off the area with plastic sheeting to contain any airborne particles.
- Lay down tarps or plastic on the floor to make cleanup easier.
- Open windows (if possible) to improve ventilation.
Step 4: Carefully Remove the Old Insulation
Different types of insulation require different removal techniques:- Fiberglass Batts – Carefully roll up pieces and place them in heavy-duty garbage bags.
- Blown-In Cellulose – Use a HEPA vacuum or specialized vacuum system to suck up small particles.
- Spray Foam – Requires cutting it out piece by piece using a utility knife.
- Asbestos Insulation – Call in a professional! This is not a DIY job.
Dispose of insulation properly. Check your local regulations—some materials require specialized disposal.
Step 5: Inspect for Any Issues
Once you’ve removed the insulation, take a good look at what’s underneath. Look for:- Moisture damage or mold – If you see black or green patches, you may need mold remediation before installing new insulation.
- Rodent droppings or nests – If pests were living in your insulation, consider pest control before replacing it.
- Structural damage – Warped beams, cracks, or compromised areas should be addressed before proceeding.
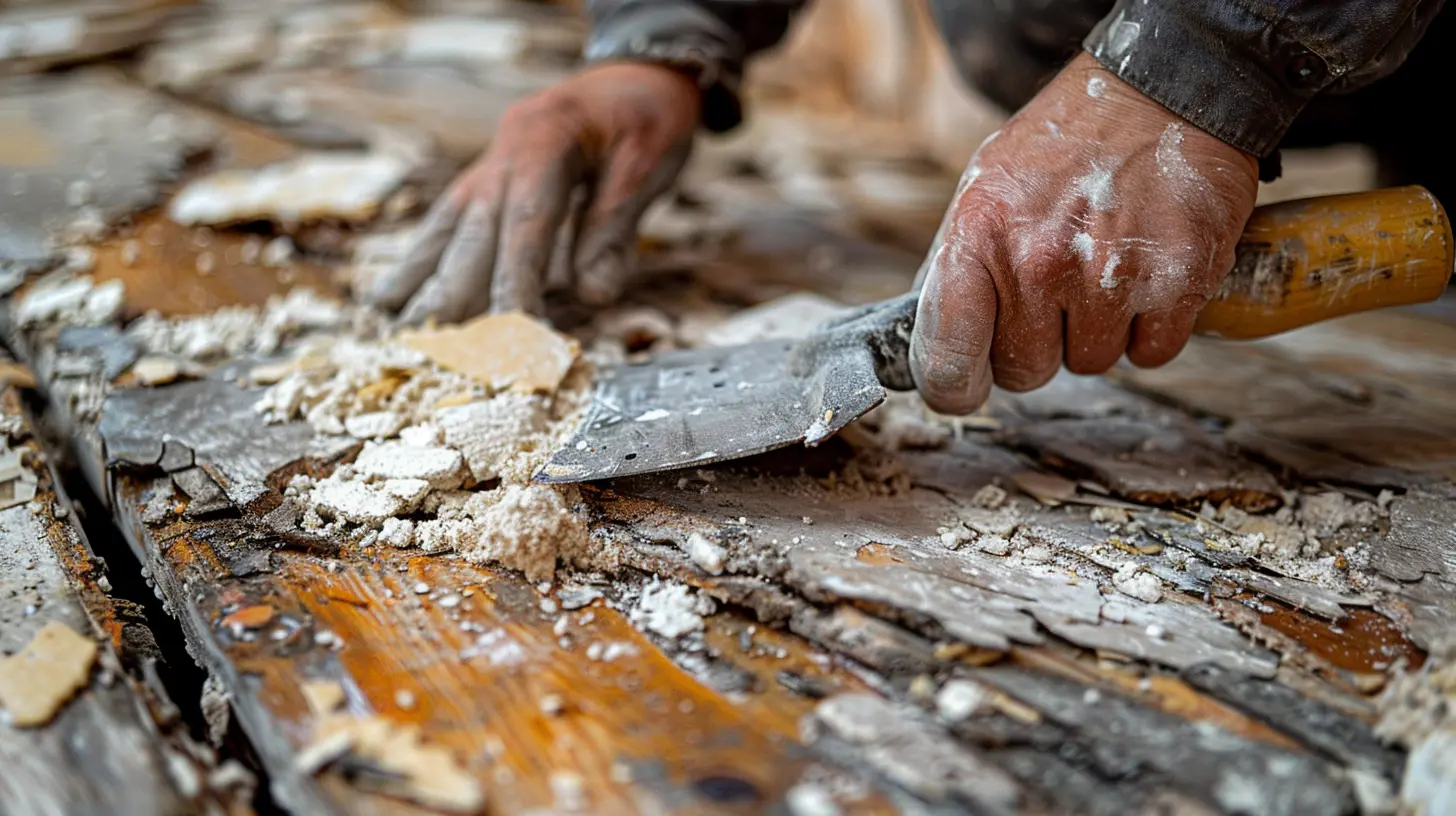
Installing New Insulation the Right Way
Now that you’ve cleared out the old stuff, it’s time to install fresh, energy-efficient insulation.Step 1: Choose the Right Insulation
Your choice of insulation depends on factors like climate, budget, and the area being insulated. Common choices include:- Fiberglass Batts – Affordable and effective, great for DIYers.
- Blown-In Cellulose – Works well in attics and tight spaces, offering excellent coverage.
- Spray Foam – More expensive but provides the best air seal and insulation.
Step 2: Measure and Cut the Insulation
For fiberglass batts, measure the spaces between your wall studs or attic joists and cut insulation accordingly. Use a utility knife for clean cuts.Step 3: Install the Insulation Properly
- For Batts: Fit them snugly between the studs or joists, but don’t compress them too much, as this reduces effectiveness.- For Blown-In: Rent or purchase an insulation blower for an even application.
- For Spray Foam: Apply in layers and let it expand fully before adding more.
Step 4: Seal Air Leaks
Before sealing up your insulation, check for gaps and cracks. Use caulk or expanding foam to seal any leaks, improving energy efficiency.Step 5: Finish Up and Clean
Once the insulation is in place, remove any plastic sheeting and clean up the area. Dispose of old insulation properly and take a well-earned break—you’ve just made your home more energy-efficient!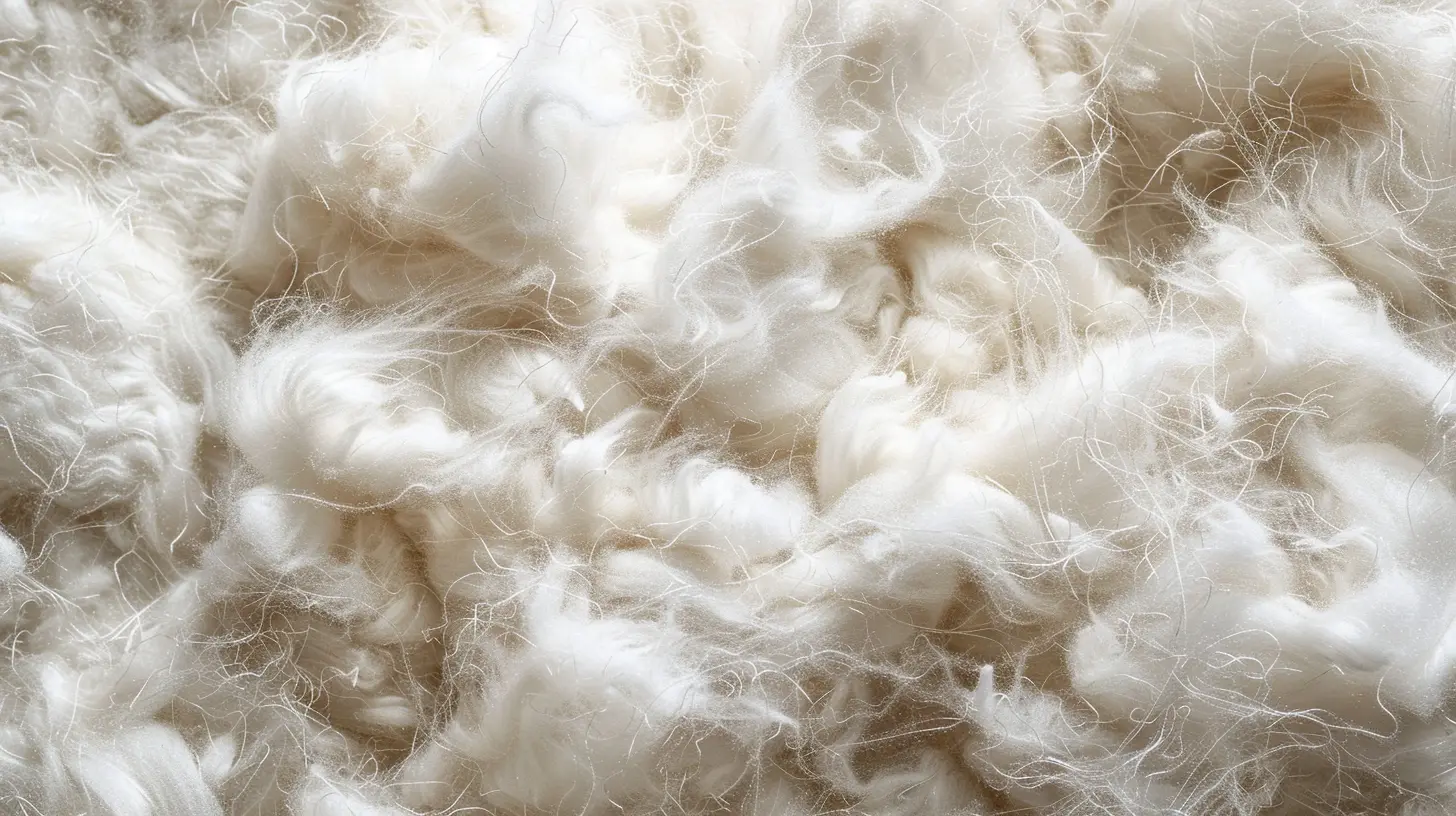
Additional Tips for Energy Efficiency
- Upgrade Windows and Doors – Insulation works best when paired with energy-efficient windows and doors.- Check for Drafts – Weather-stripping and door sweeps help prevent heat loss.
- Use a Smart Thermostat – Managing your home’s temperature effectively can further cut down on energy bills.
Final Thoughts
Replacing old insulation isn’t the most glamorous home improvement project, but it’s one of the best ways to boost energy efficiency and lower utility bills. The key is to remove it safely, dispose of it responsibly, and install your new insulation correctly. Whether you're tackling this as a DIY project or hiring a pro, taking the right precautions will ensure your home stays comfortable all year round.all images in this post were generated using AI tools
Category:
Home Improvement TipsAuthor:

Melanie Kirkland
Discussion
rate this article
1 comments
Leslie Shaffer
Great tips! Tackling old insulation can feel daunting, but with the right approach, you'll boost your home's energy efficiency and save on bills... happy renovating!
July 25, 2026 at 4:40 AM
Melanie Kirkland
Thanks for the encouragement! Tackling insulation can be a game changer for energy savings. Happy renovating to you too!