The Essential Real Estate Photography Gear List for 2027
30 September 2026
Real estate photography sits in a strange middle ground. It is not architectural photography, where a single image might take a full day to perfect. It is not casual snapshots either. You are producing commercial images at volume, often under time pressure, in rooms you have never seen, with clients who expect same-day delivery. The gear that serves a wedding photographer or a landscape artist will not necessarily serve you well here.
This list is built around that reality. Every recommendation below assumes you are shooting interiors and exteriors for listings, working alone or with a small team, and need equipment that survives daily use while staying portable enough to move through a house in under an hour. I will explain not just what to consider, but why it matters, when a cheaper option makes more sense, and where spending more actually pays you back.
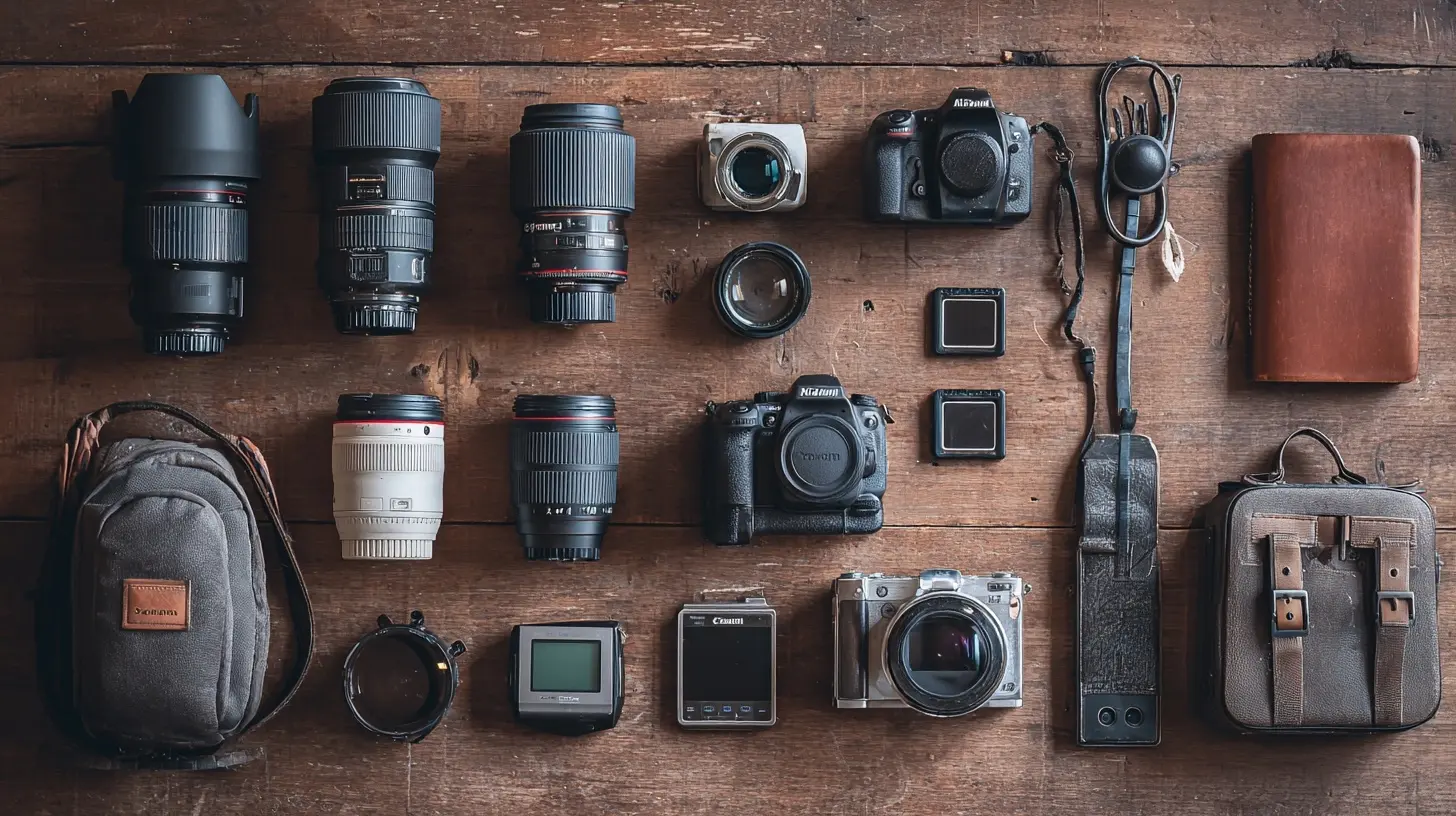
The Non-Negotiable Core: Camera Body
Why Full Frame Still Wins for Interiors
You will hear arguments for APS-C and Micro Four Thirds cameras, and they are not wrong in every context. A smaller sensor gives you more depth of field at a given aperture, which can reduce the number of focus-stacked shots you need. It also keeps your kit lighter.But full frame remains the default for serious real estate work, and the reason is dynamic range. Interiors are a torture test for sensors. You are often trying to hold detail in a bright window while keeping shadow detail in a dark corner. A full frame sensor captures roughly one to two stops more usable dynamic range in most real-world conditions, which translates directly into fewer bracketed frames and less time in post.
What Actually Matters in a Body
Ignore megapixel counts beyond about 24. Listing photos are viewed on phones and laptops. A 45 megapixel file is wasted resolution for this work unless you also shoot architectural assignments where clients crop heavily.What matters:
- Dynamic range at base ISO. This is your bread and butter.
- Tethering or wireless transfer. Clients increasingly want previews on site.
- Battery life and USB-C charging. You will shoot hundreds of frames per property.
- Dual card slots. Not glamorous, but a corrupted card on a $2 million listing is a nightmare.
- Reliable autofocus in low light. Dark basements and garages are common.
Mirrorless vs DSLR in 2027
By 2027, mirrorless has effectively replaced DSLRs for new purchases. The electronic viewfinder lets you preview exposure in real time, which is genuinely useful when you are balancing a window against interior shadows. Live histogram overlays and focus peaking help with manual tilt-shift work, which I will get to shortly.The trade-off is battery life. Mirrorless bodies drain faster. Budget for three to four batteries per shoot day, or carry a USB-C power bank and charge between properties.
If you already own a capable DSLR, there is no urgent reason to switch. The images are comparable. The workflow advantages of mirrorless are real but incremental, not transformational.
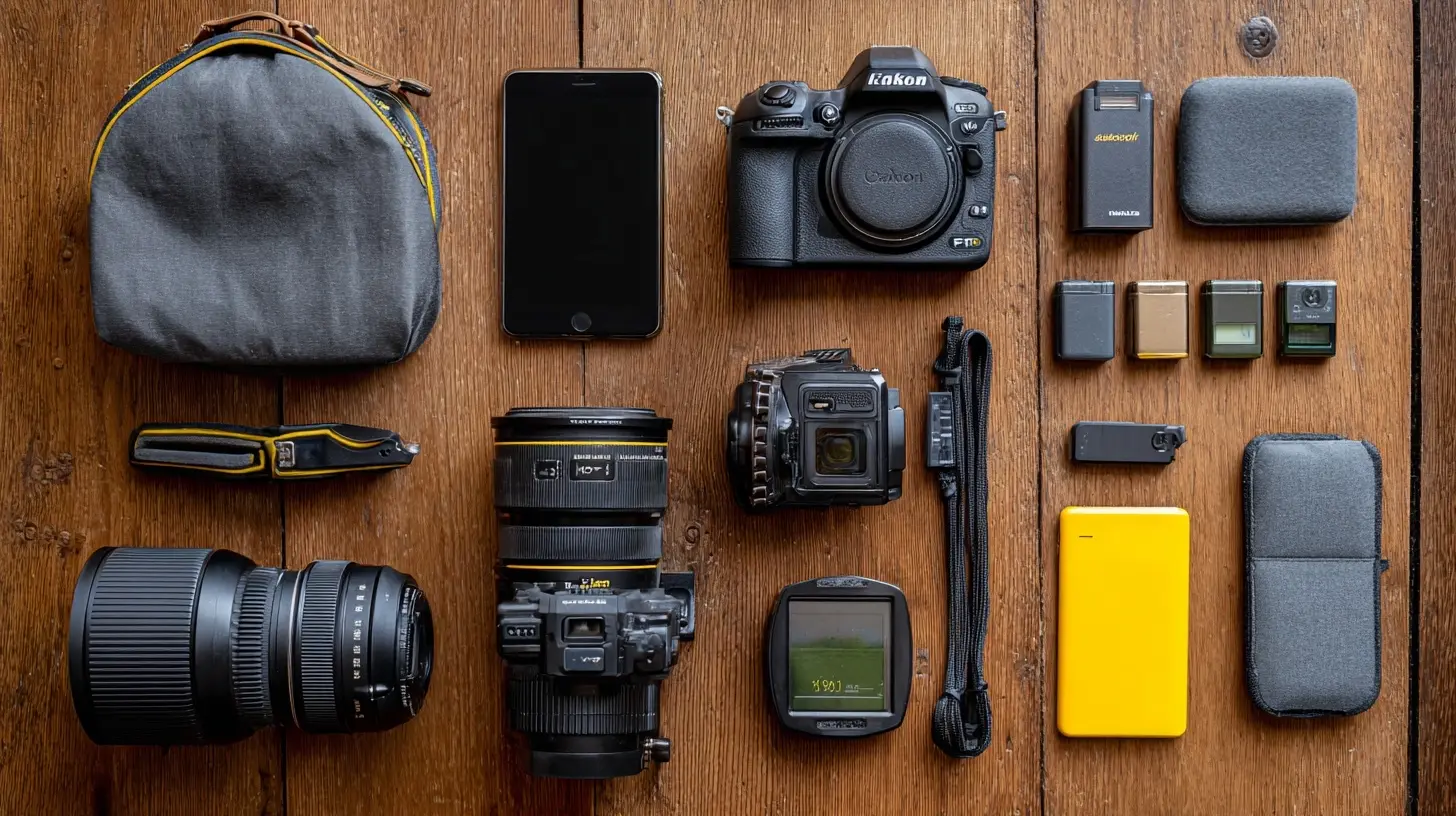
Lenses: Where Your Money Actually Goes
This is the section where most beginners overspend in the wrong places and underspend in the right ones.The Ultra-Wide Zoom
Your primary lens will be an ultra-wide zoom. For full frame, that means something in the 16-35mm range, or a 14-24mm if you shoot a lot of tight bathrooms and closets.Here is the critical point most gear lists skip: you do not need a fast aperture for real estate. You are almost always shooting between f/7.1 and f/11 to maximize depth of field. An f/2.8 lens is heavier, more expensive, and its wide-aperture advantage is wasted. A slower f/4 version of the same focal range produces identical results for this work at half the weight and cost.
Buy the f/4. Spend the savings on lighting.
Why Tilt-Shift Lenses Matter More Than You Think
A tilt-shift lens, typically a 17mm or 24mm, lets you correct converging vertical lines optically rather than in software. When you point a normal wide lens upward to capture a tall room, vertical lines lean inward. Software correction stretches the edges of the frame to fix this, which softens corners and crops your image.An optical shift keeps the full resolution and sharpness intact. For high-end listings, this difference is visible.
The trade-offs are significant. Tilt-shift lenses are manual focus only, expensive, heavy, and slow to use. They also require you to level the camera precisely, which adds time to every shot.
My honest recommendation: start with a standard ultra-wide and correct in post. Add a tilt-shift once you are consistently booking properties where the quality difference justifies the cost and the slower workflow.
A Mid-Range Zoom for Details
Carry a 24-70mm or 24-105mm for detail shots. Close-ups of fixtures, countertops, fireplace mantels, and staging vignettes add variety to a gallery and often end up in the client's marketing materials.The Lens You Might Not Expect: A Telephoto
A 70-200mm is genuinely useful for exteriors. Compressing a long driveway, isolating a roofline, or shooting a house from across the street without including the neighbor's trash cans all require reach. It also helps with drone-style ground shots where you want to flatten perspective.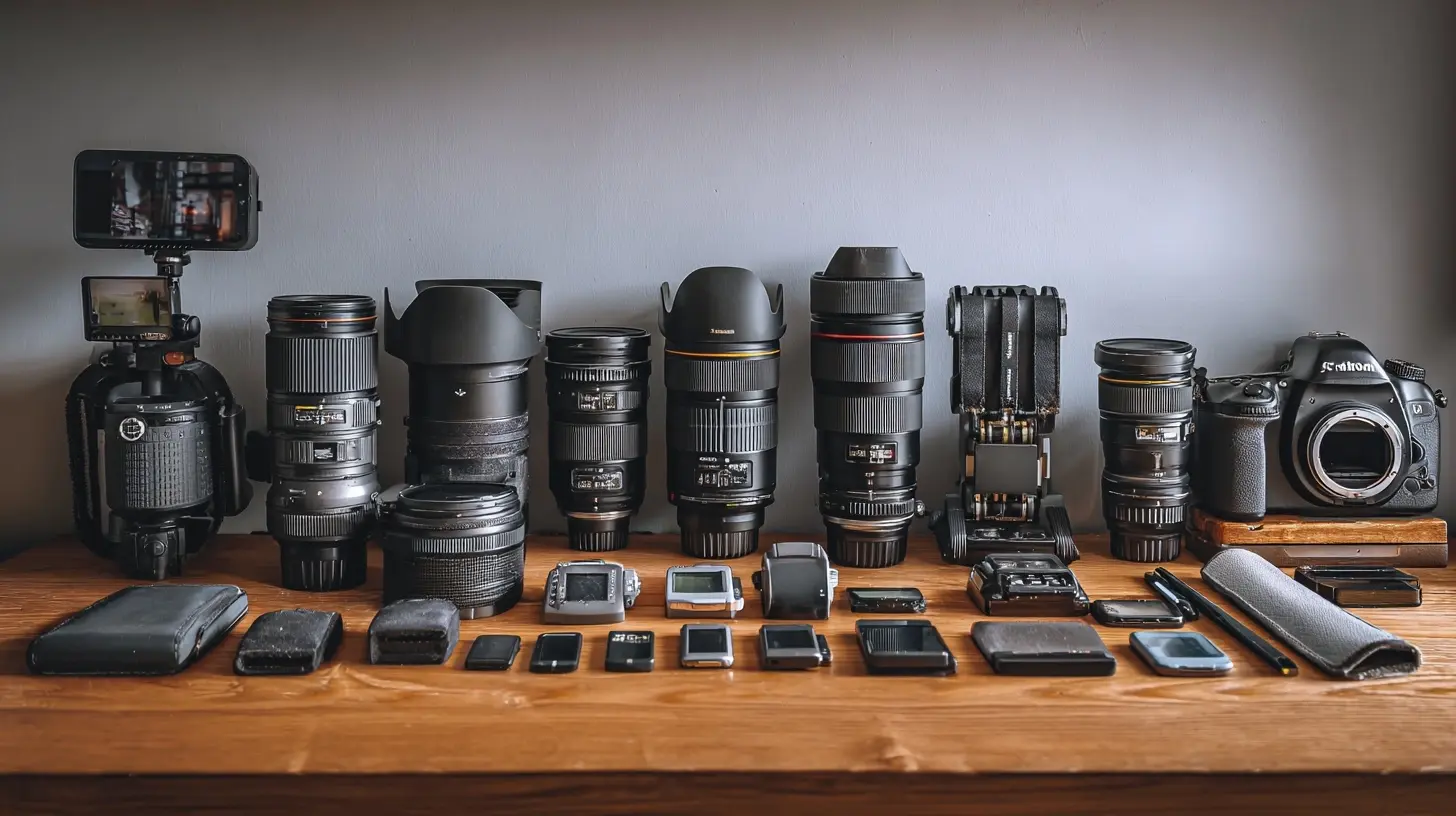
Tripods: Stability Is the Whole Game
Real estate photography is largely tripod work. Handheld shooting introduces micro-shake that becomes visible when you blend bracketed exposures. It also makes consistent framing across a bracket set nearly impossible.What to Look For
- Height range. You need a tripod that extends to eye level without raising the center column. Center columns are convenient but they introduce vibration.- Independent leg spread. Three angles per leg minimum. You will shoot on stairs, uneven patios, and sloped lawns.
- Weight capacity. Overkill is fine here. A tripod rated for 15kg used with a 2kg camera is more stable than one rated for 5kg.
- Quick-release system. Arca-Swiss is the industry standard. Stick with it so plates and heads interchange.
Carbon Fiber vs Aluminum
Carbon fiber costs roughly twice as much, weighs about 30 percent less, and dampens vibration better. Aluminum is heavier and colder in winter but perfectly stable.If you shoot five houses a week and carry your gear up and down stairs constantly, carbon fiber is worth it. If you shoot two houses a week and drive between them, aluminum is fine and the savings go toward lighting.
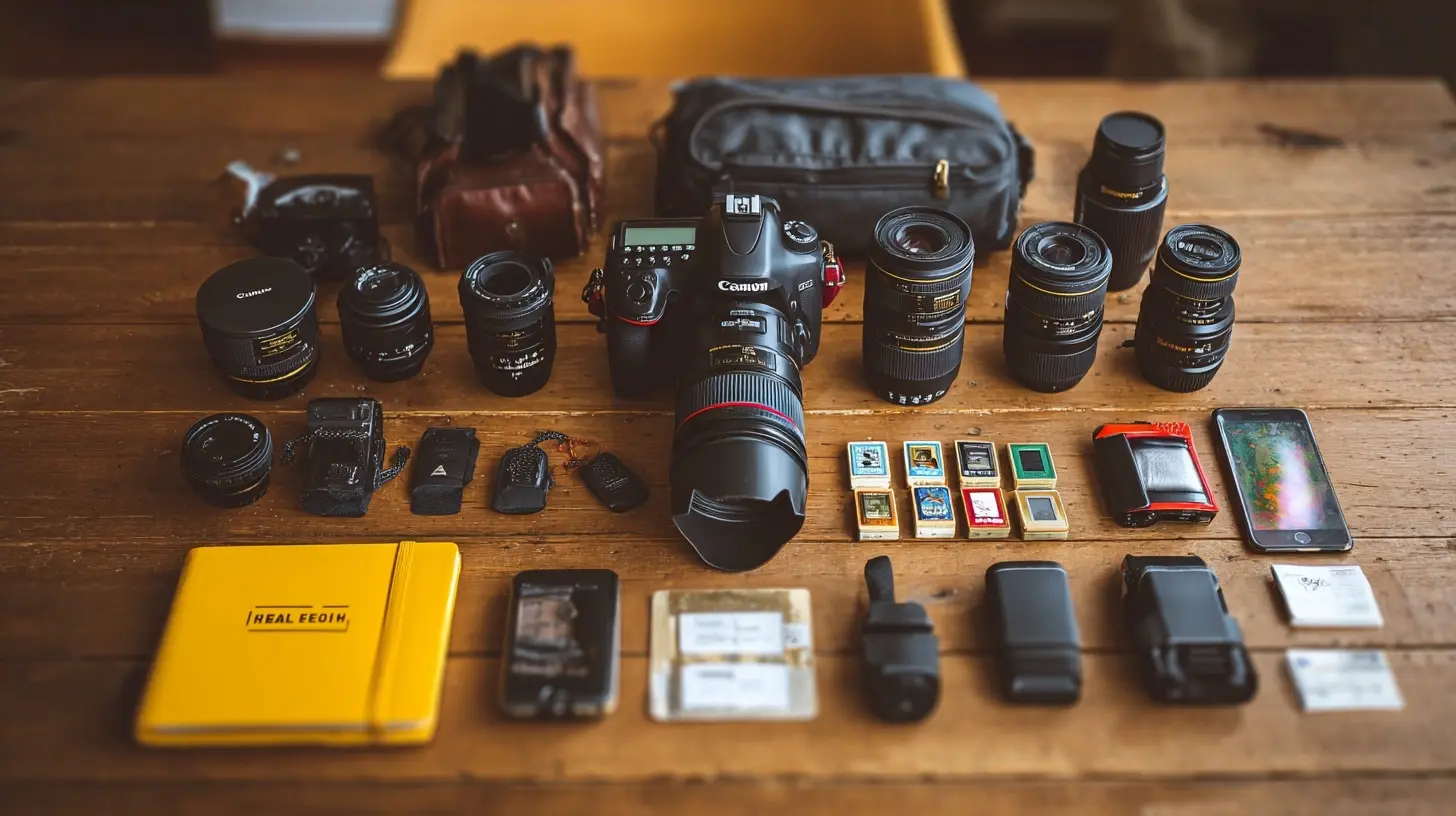
The Head: Ball vs Geared
A ball head is fast and compact. A geared head lets you make precise, independent adjustments to each axis, which is invaluable when you are leveling for a tilt-shift shot or matching a previous composition exactly.Many real estate shooters use a ball head with a leveling base. This gives you quick rough positioning plus a fast way to level the horizon without adjusting three legs individually.
Lighting: The Difference Between Good and Professional
This is where amateurs and professionals separate. Available light alone will not produce consistent, appealing interior images. You need to shape it.Flashes and Strobes
You need at least two to three flashes with adjustable power. Manual power control is essential. TTL metering is unreliable when bouncing off unknown surfaces in unknown rooms.Why multiple lights? A single flash bounced off a ceiling creates a flat, even wash that looks artificial. Two lights, positioned to add directional interest and fill shadows, create depth and dimension. Three gives you flexibility for larger rooms.
Wireless Triggers
A reliable radio trigger system is mandatory. Optical slaves fail when a flash is around a corner or behind furniture. Radio triggers work through walls and around obstacles.Buy triggers from the same system as your flashes if possible. Cross-brand compatibility is improving but still inconsistent.
Light Stands and Modifiers
- Compact light stands. You will place these in tight corners. Weight and folded length matter.- Swivel adapters. Let you angle a flash toward a ceiling or wall from any stand position.
- Small softboxes or diffusion panels. Useful for product-style detail shots and for softening direct flash on glossy surfaces.
The Bounce Technique and Why It Works
Bouncing flash off a ceiling or wall converts a small, harsh light source into a large, soft one. The light travels farther, spreads wider, and wraps around subjects more gently. This is why real estate shooters almost never point a flash directly at a scene.The catch: ceilings and walls have colors. A tan ceiling reflects warm light. A blue accent wall reflects cool light. You will need to correct these casts in post, or choose bounce surfaces carefully.
Bracketing and the Flambient Workflow
Two dominant approaches exist for interior exposure blending.HDR bracketing captures three to seven frames at different shutter speeds and merges them in software. It is fast and works well in rooms with moderate contrast.
Flambient combines a flash exposure for color accuracy and shadow detail with ambient bracketed frames for natural window light. It produces the most polished results but takes longer per room and requires more skill.
Most working professionals use a hybrid. Bracket ambient frames, then add a flash frame or two for color and shadow control. The gear list above supports either approach.
Drone: Increasingly Expected
Aerial exteriors are no longer a luxury add-on for mid-range listings. They are close to standard in many markets.You do not need a cinema-grade drone. A compact model with a 1-inch sensor, RAW capture, and at least 30 minutes of flight time covers nearly all real estate needs. Obstacle avoidance is helpful but not a substitute for careful flying.
Critical considerations:
- Part 107 certification is required for commercial drone work in the United States. No exceptions.
- Airspace restrictions. Many suburban areas sit near airports. Check before every flight.
- Insurance. Separate drone liability coverage is wise.
Storage, Power, and the Boring Stuff That Saves Shoots
- Memory cards. Buy more than you think you need. Format in camera, never delete individual files.- Card wallet. Something rigid. Losing a card mid-shoot is a catastrophe.
- Batteries. Three to four camera batteries, plus rechargeable AAs or proprietary packs for flashes.
- Portable SSD. Back up on site if you can. At minimum, back up before you sleep.
- Gaffer tape. For securing cables, marking tripod positions, and a hundred other small problems.
- Microfiber cloths. Fingerprints on lenses ruin more shots than bad composition.
- Lens pen. For stubborn dust.
- Small level. Even with in-camera levels, a physical bubble level on the hot shoe is faster and more reliable.
The Software Side
Gear lists often ignore software, but it is part of your kit.- RAW processor. Whatever you prefer, but learn it deeply.
- HDR merging. Dedicated tools handle alignment and ghosting better than basic panorama merge functions.
- Perspective correction. Essential for verticals and horizontals.
- Lens correction profiles. Automate this.
- Batch editing. You will shoot 40 to 80 images per property. Speed matters.
- Delivery platform. Clients expect galleries, downloads, and sometimes MLS-ready exports.
Common Mistakes and Misconceptions
"More megapixels means better listing photos." No. Dynamic range, lens quality, and lighting matter far more."I can fix everything in post." You can fix a lot. You cannot fix a blown window with no detail, a soft corner from excessive perspective correction, or a color cast from a bad bounce surface without degrading the image.
"One flash is enough." It is enough to start. It is not enough to produce work that stands out.
"Fast lenses are better." For this genre, they are heavier and pricier with no real benefit.
"Any tripod works." A shaky tripod ruins bracketed sets. This is not the place to save $80.
A Practical Starter Kit and a Practical Pro Kit
Starter (roughly entry-level professional):- Full frame mirrorless body with good dynamic range
- 16-35mm f/4
- 24-70mm f/4
- Sturdy aluminum tripod with ball head and leveling base
- Two manual flashes, radio triggers, two stands, swivel adapters
- Three camera batteries, four flash battery sets
- 128GB cards x2, card wallet, portable SSD
- Editing software with HDR and lens correction
Pro (high-volume, high-end):
- Two full frame bodies for redundancy
- 14-24mm f/2.8 or 16-35mm f/4 plus 17mm or 24mm tilt-shift
- 24-70mm f/2.8
- 70-200mm f/4
- Carbon fiber tripod with geared or hybrid head
- Three to four flashes, premium triggers, compact stands, diffusion
- Compact drone with 1-inch sensor and Part 107 certification
- On-site backup workflow, dual card slots in use
- Dedicated delivery and client management platform
Final Thoughts on Building Your Kit
The gear matters, but it matters less than understanding light, composition, and the specific demands of selling property through images. A skilled shooter with a modest kit will outperform a gear collector every time.Buy in this order: body, ultra-wide lens, tripod, lighting, then everything else. Upgrade the lens before the body. Upgrade lighting before the drone. And resist the urge to buy gear that solves problems you do not yet have.
The best kit is the one you can carry, set up, and operate confidently in a stranger's home while the seller watches and the listing agent checks their watch. Reliability and speed beat specifications in this business. Build for that.
all images in this post were generated using AI tools
Category:
Real Estate PhotographyAuthor:

Melanie Kirkland